Weapons Tier List for No More Room in Hell 2
What to swing, what to shoot, and what to leave on the floor.
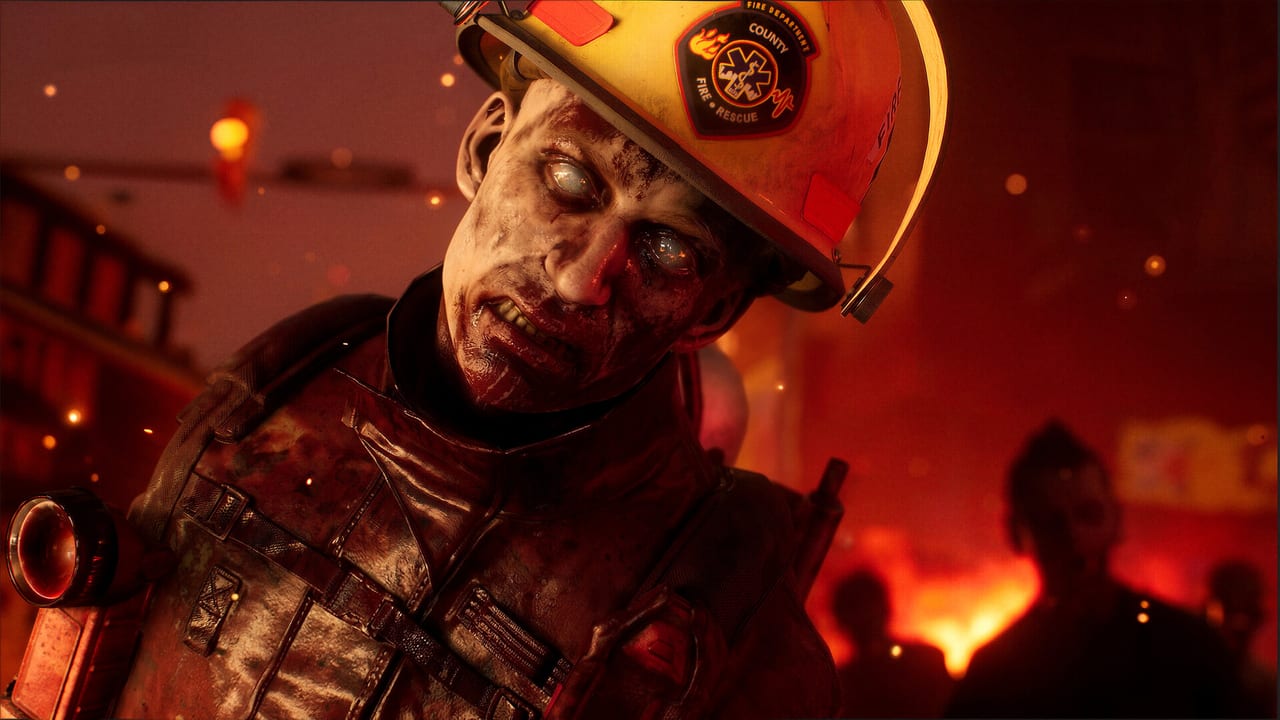
Firearms feel powerful in No More Room in Hell 2 trailers. In live deployments, ammunition scarcity and noise escalation decide whether that magazine is a win or a wipe. This weapons tier list ranks melee and guns for 1.0.4.0 co-op extracts on Scenario and Survival, with S/A/B bands and the reasoning behind each. The August 25 Hotfix 1.0.4.0 changed spread curves across every firearm family, so this list was rebuilt against post-rebalance numbers — refer to the Weapons Database for the per-weapon stat block and the Hotfix 1.0.4.0 patch notes for the exact curve shifts. Pair this list with Best Builds and the Skills Tier List once you know your role.
New players should also skim Getting Started so tier advice does not outrun basic infection and stamina rules. After a wipe, Tips & Tricks covers the post-1.0.4.0 habits that keep a level-50 Responder alive.
Ranking rules
- S-tier: Take it every spawn opportunity; defines a role.
- A-tier: Excellent when it matches your skills or map.
- B-tier: Usable filler; swap when something better appears.
- Noise, stamina cost, and ammo economy weigh as much as raw damage.
What changed after 1.0.4.0
The 1.0.4.0 spread rebalance tightened every weapon family and raised per-shot spread on sidearms to discourage spam. Net effect for tier-list purposes:
- Marksman rifles (Rochester 1873, Hunter 85) climbed a tier. Initial ADS spread cut from 3.5 to 2.5 makes tap-fire feel genuinely rewarded.
- SMGs (MP5, MC-15) opened up. Reduced initial and max spread lets them hold short engagements instead of blooming on the third shot.
- Sidearms dropped. Per-shot spread raised from 0.25 to 0.5 plus moving spread multiplier trimmed — spam-firing a sidearm is no longer viable. Sidearms are finishers and emergency tools, not workhorses.
- Shotguns (590A1, Fierra DB12) kept S-tier in chokes but with discipline — max spread dropped to 15 but per-shot spread raised to 1.1 means each pull of the trigger pays a real cone tax.
- Long rifles (M7A1, M14) consolidated at A — initial spread trimmed but rifles still demand pacing.
- Moving spread multipliers dropped 1.1–1.2 → 0.9–1.0 across the board. Shoot-on-the-move is finally usable in short bursts; pair it with stamina discipline so you do not trade accuracy for grabs.
If you ranked guns off launch-week videos, this list is the reset.
Melee tiers
S-tier melee
Reliable one-handed blades earn S for limb work and low stamina tax when you pace swings. They keep doorways clear without waking three streets. Two-handed blunt kings (sledge-class tools and the post-nerf bat) sit beside them for stagger and crowd control—Survival waves and plant chokes love knockdown pressure. The baseball bat is no longer a free S-tier after Armageddon cut it to a Tier 2 statline.
Why S: silent relative to guns, infinite “ammo,” and synergistic with Athlete/Butcher style skills. Most successful pubs are melee-majority for a reason. The 1.0.4.0 spread rebalance reinforces this — even with tighter SMG spread, spam-fire does not replace a competent swing.
A-tier melee
Versatile mid-weight tools (crowbar-class, axe-class, shovel-class) clear walkers efficiently but punish panic spamming. Long reach poles help on stairs yet struggle in closets. Carry one A-tier backup even on Marksman kits.
B-tier melee
Light improvised junk and awkward novelty swings exist to get you to a real weapon. Use them to reach the next POI, then drop them for the mule’s scrap pile.
Firearm tiers
S-tier firearms
Controlled shotguns in tight finales and bunkers: one shell, many problems, then back to melee. Accurate heavy rifles for armored priorities and distant runners when a Marksman build is actually present—not when five players each clutch five rounds. Post-1.0.4.0, the Marksman family (Rochester 1873, Hunter 85) finally lives up to its name thanks to the tightened ADS spread.
S-tier guns are S because of decision quality, not spray volume. The Responder who saves eight rifle rounds for the plant catwalk outranks the Responder who dumped sixty into walkers at spawn.
A-tier firearms
Service pistols and carbines with common ammo types help when runners break spacing. SMGs (MP5, MC-15) opened up at A-tier after 1.0.4.0 thanks to tightened max spread — they can hold a doorway now without blooming on the third shot. Suppressor-friendly setups (when attachments allow) reduce the tax of emergency shots. Keep them holstered until melee fails.
B-tier firearms
Ammo-hungry automatics and exotic calibers that nobody else can share. Fun on a full drop; disastrous as a main plan. If the magazine cannot be refilled by the team’s found boxes, it is a temporary toy. Sidearms (M1911, M9A3, Gruber MKVII) joined this tier after 1.0.4.0 — per-shot spread rose to 0.5, so spam-fire sprays instead of staying on cone.
Melee vs firearms decision tree
- Are you fighting walkers in a choke? Melee.
- Is a runner or screamer about to break the formation? Firearm, then sheath. After 1.0.4.0, lean toward single pulls on sidearms.
- Are you starting a loud objective? Holster guns until the minigame needs a save.
- Is the squad already loud? Still prefer melee—do not stack noise for free.
Attachments and share discipline
Sights, rails, and muzzles change gun feel, but they do not create ammo. Attach for clarity and control, not for ego. Unload and share calibers when a dead Responder’s gun is the wrong role for you. The September 2026 attachment drop (see Beyond Armageddon) will add muzzle mods and laser sights that will likely shift tier ratings again.
Throwables are honorary weapons: pipe bombs and deployables are A-tier when a Breacher calls the throw, B-tier when someone panics in a closet and blocks the exit.
Map and mode modifiers
Broadway-style interiors favor blades and shotguns; long Lewiston approaches tempt rifles you cannot refill. Bunker and hospital vertical fights reward blunt control on stairs. Raven Rock’s dense sightlines punish spray-and-pray more than careful melee pushes. Survival Mode between waves is when you reorganize ammo—never mid-horde when the tower is screaming. After 1.0.4.0 the Survival Mode final-respawn rules change how aggressive you can be on the last wave.
If living Responders fall to three or fewer, weapon greed should not block early extract. Drop excess guns for whoever can still swing, grab pills, and leave. A perfect S-tier rifle on a corpse helps nobody.
Loadout philosophy for 1.0.4.0
Expect to finish most deployments as a melee fighter who sometimes shoots. Build inventory around one primary melee, one emergency gun with an honest ammo count, meds, and pills. Gene Therapy outranks a third firearm every time. Infection delay from Phalanx Pills (~five minutes) also outranks “just one more magazine” when veins are showing.
Recalibrate sensitivity from default — the new ceiling of 6 (from 2) means the value you queued with is now a fraction of your real range. Tap-fire over spam-fire, especially on sidearms. Use this list as pickup priority, then specialize through skills and the best-builds page. The meta is not “guns bad”—it is “guns expensive.” Spend them like credits you cannot farm mid-match, and let melee carry the boring majority of kills that actually get you extracted.
Frequently Asked Questions
Quick answers for Responders preparing for the next deployment.
Why do melee weapons rank above most guns?
Because ammo is scarce and shots attract pressure. Melee wins the majority of walker fights without emptying the team pool or escalating sectors. The 1.0.4.0 spread rebalance reinforced this — even with tighter SMG spread, spam-fire does not replace a competent swing.
When should I use a rifle?
For armored threats, distant runners, and finale priorities—ideally on a Marksman kit with scavenged ammo, not as default trash-clear. Marksman rifles climbed a tier after 1.0.4.0 thanks to tightened ADS spread.
Are shotguns good in Survival Mode?
Yes in chokes and tower doorways, if you ration shells between waves. They are not a replacement for blunt crowd control. After 1.0.4.0, each pull of the trigger costs more spread — single-shot discipline matters.
Should I carry multiple firearms?
Rarely. Extra guns steal weight and ammo from roles that need them. One emergency firearm plus strong melee is the safer default. Sidearms joined the 'do not spam' tier after 1.0.4.0.
Did the 1.0.4.0 patch change weapon rankings?
Yes. Marksman rifles climbed a tier thanks to tightened ADS spread. SMGs opened up at A-tier. Sidearms dropped because per-shot spread rose from 0.25 to 0.5. See Hotfix 1.0.4.0 for the exact curve shifts.