Best Builds for No More Room in Hell 2
Role kits that survive Criticals, Survival waves, and finales.
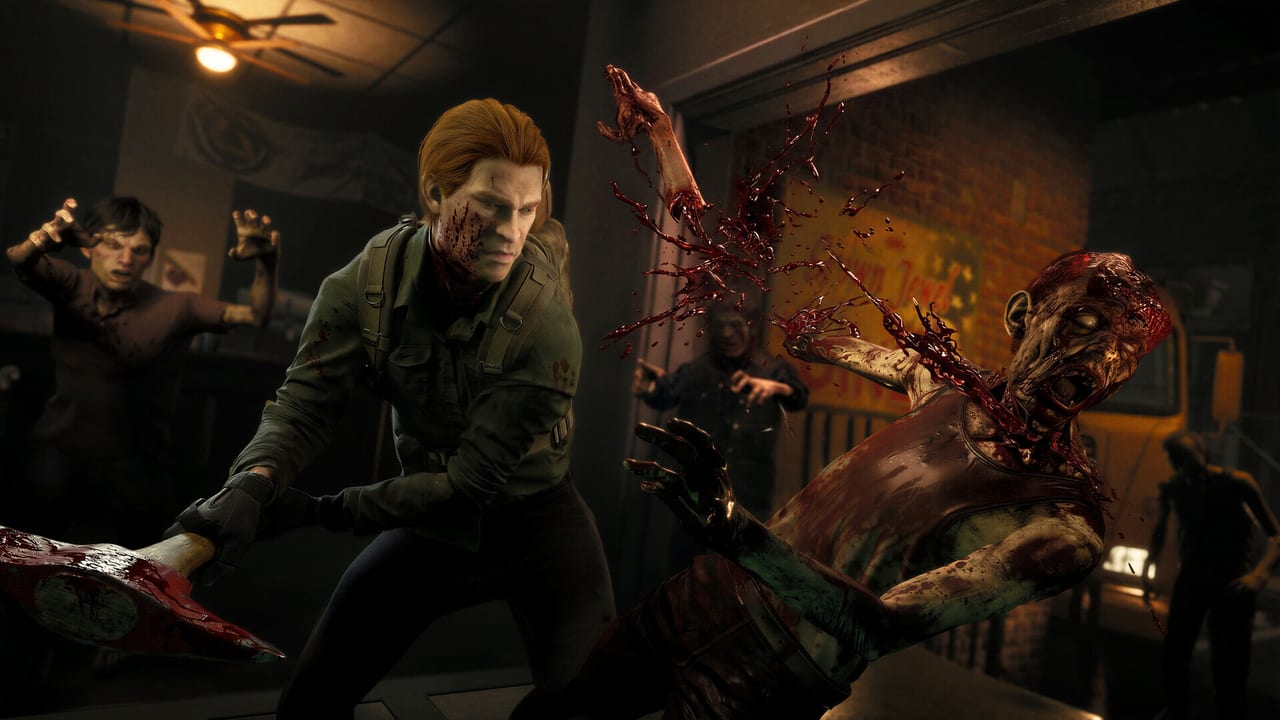
These best builds are practical Responder frameworks for No More Room in Hell 2 after 1.0—not cosplay loadouts. Each kit covers a job your eight-player cross-play squad actually needs: clearing walkers, staggering crowds, deleting priorities, opening routes, carrying logistics, keeping people upright, or scouting objectives. Cross-check skill picks with the Skills Tier List and weapon choices with the Weapons Tier List. Progression details live in How to Unlock Skills.
Leave flexible skill slots on every kit. Maps, Survival vs Scenario, and random loot will ask for swaps.
Executioner build
Job: Limb dismemberment and hallway control.
Core ideas: Athlete, Butcher, Heavy Shoves, Sturdy Body. Guts is gone in 1.0.
Loadout: Blade primary, one health item, optional light pistol only if ammo is common.
Playstyle: Pace swings, target limbs, rotate out when stamina dips. You are the default answer to walkers so Marksmen can save rounds. On Power Plant stairs, you own the choke while operators work panels.
Crowd Control build
Job: Knockdowns, spacing, and Survival doorway ownership.
Core ideas: Athlete, Foreman, Hard Blow, Rush, Sturdy Body. Teddy Bear was removed in Armageddon.
Loadout: Two-handed blunt, adrenaline if found, health item.
Playstyle: Create stagger waves, kick to reset, and never chase into open fields. Ideal tower defender in Survival Mode and plant lobby clearer in Scenario.
Marksman build
Job: Armored infected and distant runners.
Core ideas: Eagle Eye, Penetrating Shot, Scavenger, Steady Shot, Steel Chamber, Vulture.
Loadout: Rifle/heavy rifle, ammo crate when available, mandatory melee backup.
Playstyle: Shoot priorities only. If you empty the team’s rifle pool on shambling trash, you have failed the build. One or two Marksmen per lobby is plenty.
Breacher build
Job: Doors, barricades, throwables, panic stabilization.
Core ideas: Doorbreaker, Foreman, Grenadier, Icarus, Overkill, Athlete.
Loadout: Shotgun, explosive/deployable, close-range melee.
Playstyle: Open the route on call, throw only when the team has a retreat lane, then collapse back to melee. Friendly pipe bombs wipe Responders as fast as zombies.
Mule build
Job: Logistics brain—carry capacity and redistribution.
Core ideas: Athlete, Builder, Caravan, Grenadier, Healing Item Stack, Mule, Thick Skin, Vulture.
Loadout: Ammo crate, mass casualty kit, spare pills.
Playstyle: You are not AFK storage. Follow the objective, drop kits on demand, and announce Gene Therapy if found. Heavy packs slow you—Athlete is not optional.
Medic build
Job: Team sustain, revives, infection triage.
Core ideas: Acquired Immunity, Healing Item Stack, Skilled Medic, Stayin’ Alive, Thick Skin.
Loadout: Mass casualty kit, armor if available, Phalanx Pills counted out loud.
Playstyle: Heal before Critical pulls when possible; mid-fight patches need cover. Infection still runs ~five minutes without pills—Gene Therapy is the full cure and match immunity. Do not stand in the open while bandaging.
Scout build
Job: Quiet pathing, objective touches, information.
Core ideas: Athlete, Limbo, Marathon Runner, Quiet Steps.
Loadout: Light melee, mobility gear, radio when relevant.
Playstyle: Open optional POIs, locate codes/docs, and return. Scouts die when they treat stealth as invulnerability—call before you start noisy panels alone.
Squad composition cheat sheet
- 4-player: Executioner, Crowd Control, Medic, flex (Breacher or Marksman).
- 8-player: Two melee (Executioner/CC), one Marksman, one Breacher, one Mule, one Medic, one Scout, one flex.
Survival leans CC + Medic. Scenario finales lean Breacher + Marksman + Executioner.
Infection kit shared by every build
Whatever role you main, budget inventory for Phalanx Pills and know who holds Gene Therapy. Pills delay conversion for about five minutes per effective use window; Gene Therapy cures and grants immunity for the rest of the match after the two-step blood draw and inject. Announce charges on VoIP so the Medic is not guessing. A perfect Executioner who turns mid-finale is just another runner with your loot.
Switching kits mid-roster
If your Marksman dies, do not force a second rifle specialist from scratch unless ammo is abundant. Promote an A-tier pistol carrier or lean harder into melee coverage. Builds are templates for living Responders, not graveside obligations. Survival drops and Scenario Critical crates should retune the flex seat every phase.
Final reminders
Builds do not cancel permadeath. Extract still ends the story—full heli/evac when possible, early extract at three alive when the roster is cooked. Share loot, hold VoIP discipline (hold E), and reroll skills that fight your job.
Pick one kit, unlock its Expert spine, and stop reinventing your Responder every wipe. Consistency extracts more characters than novelty—and novelty is expensive when characters cannot be refunded.
Frequently Asked Questions
Quick answers for Responders preparing for the next deployment.
Which build is best for beginners?
Executioner or Crowd Control. They teach stamina melee—the skill that saves the most characters—before specialized firearm trees.
Can I run Marksman as my only build?
You can, but pubs suffer if everyone does. Keep a melee backup and coordinate so only a couple Responders drain rifle ammo.
Do these builds work in Survival Mode?
Yes. Crowd Control and Medic are especially strong on wave defense; Mule helps turn supply drops into team power.
How do I unlock the Expert versions of these skills?
Account progression unlocks Expert variants into your pool; spend credits to upgrade or reroll. See the Unlock Skills guide for order and costs.
Should every squad bring a Scout?
Helpful on large Scenario maps for codes and routing, optional in tight Survival defenses where leaving the tower is risky.